Showing posts with label Christmas. Show all posts
Wednesday, September 01, 2021
Tuesday, July 20, 2021
Oh Deer! No collection? No problem!
YouTube video here discussing creating a cohesive layout when you only have a single collection item!
Shop my A Cherry on Top affiliate link here!
Thursday, January 23, 2020
Mixed Media Mix Up - Volume 1
I am starting a new series on the A Cherry on Top blog today called Mixed Media Mix Up!
I will take some mixed media techniques and break them down to simple steps, offer tips and tricks, and lots of ideas and examples. I'm hoping it will demystify mixed media for those who are scared to step into the waters.
Today's mix up is all about stripes & splatters! Check out my YouTube tutorial for the real time details, as well as translating the technique into a layout.
I will take some mixed media techniques and break them down to simple steps, offer tips and tricks, and lots of ideas and examples. I'm hoping it will demystify mixed media for those who are scared to step into the waters.
Today's mix up is all about stripes & splatters! Check out my YouTube tutorial for the real time details, as well as translating the technique into a layout.
I will start a discussion on the message boards at the A Cherry on Top site for all kinds of mixed media discussion, questions, ideas, etc!
I hope you all enjoy the Mixed Media Mix Up!
xoxo
Wednesday, December 11, 2019
Sweeter than Sugarplums with Shimmerz
Happy Hump Day, friends!
You can find a process video for this mixed media layout on my YouTube channel & you can find all the details on the Shimmerz blog.
Stay tuned for many more Disneyworld layouts, coming soon! Disneyworld at Christmas is extra magical!
xoxo
Friday, November 29, 2019
Memorydex the Halls!
Hey friends!
Today I'm sharing a sneak of my December "daily" project for 2019 - a Memorydex!
I've noticed a resurgence in this trend, which I believe was started by Heidi Swapp many years ago, and I'm loving the chunky, interactive card collections, so I decided to jump on board with a Christmas project. I will likely not create a card every day, as this is a very busy season for us, but I did get a head start on some foundation cards, and I hope to have the box full by the end of the month!
Today I'm sharing a sneak of my December "daily" project for 2019 - a Memorydex!
I've noticed a resurgence in this trend, which I believe was started by Heidi Swapp many years ago, and I'm loving the chunky, interactive card collections, so I decided to jump on board with a Christmas project. I will likely not create a card every day, as this is a very busy season for us, but I did get a head start on some foundation cards, and I hope to have the box full by the end of the month!
Part of the resurgence includes crafters attempting to coax American Crafts into recreating the original memorydex decks to hold the cards. But since these are in short supply, people are using all kinda of creative approaches to creating their own!
I grabbed a box that I ensured was at least 4 inches wide (it's a big larger than that) from the dollar tree.
I used a couple of small strips of cardboard to elevate two paper straws, upon which the die cut memorydex cards sit perfectly.
I got my memorydex dies from the A Cherry on Top store, but they must be popular, because the 12 they had left have flown off the shelves.
Neverfear! I'm certain you can A. create your own with a square die and hole punch or B. cut them from a cut file with an electronic die cut machine!!
I wanted my memorydex to reflect my current Christmas decor, which is buffalo check! So I had to grab the new Little Lumberjack collection by Echo Park. This isn't even a Christmas collection, but it's so wonderful. I am just mixing it in with all my Christmas stash and some other great products I got at the ACOT store.
I cut a base card for most of the memorydex cards out of black cardstock, then added my patterned paper on top. Even if you're just doing a single patterned paper, I find this made the card much more sturdy, which will be better to pull in and out of the box in the long run.
I love me a good pun, y'all!
I was loving my cards, but they were missing something. The project really started becoming a stand out when I decided to come "off the card" and add ribbons and tags on most every card. I love how it is all bursting out of the box, I think this full textured look is exactly what this project is meant for!
A title card and the others are base cards! I figured the logs will be great for a tree photo.
I plan to write or type on journaling cards and add them to the fronts or backs, as well as add photos.
Honestly, if I added nothing to these cards, the glitter and texture would be enough to keep me happy with the project!
The hohoho card was an experiment gone right! I put my snowflake die atop this paper bag and covered only half with the cutting board and ran it through my Big Shot. It chopped off the top of the bag and left the rest, and I have a die cut bag for ephemera - like tickets to an event or what not!
I am loving this project so far! I am glad I'm starting with an "extra," sparkly, over-the-top subject matter, and I will keep you all posted on how it turns out!
xoxo,
Natalie
Sunday, June 30, 2019
Sup Santa?
Hey Friends!
I know, a Christmas page, you say? Well, to be fair it is *almost* Scrappy Christmas in July! I just had to get a head start on SCiJ when I saw today's prompt from Lasting Memories. The prompt for today is to create a red & white scrapbook layout in honor of Canada Day - and immediately I thought of doing a Christmas layout.
I used a Page Map from this month:
I wanted to do mixed media, but red mixed media tends to have a bloody look, so I decided to do white texture paste instead of patterned paper. It's a bit hard to photograph, but you can tell a bit below.
How about that large snowflake die?! I got that beaut on sale at the Hob Lob and it's more intricate and beautiful I even expected!
I was using up this foam thicker sheet, but I thought it was kinda fun to leave the A's as at signs and the t was a plus. Lends to the feel of the title anyway.
My boys have had their photo with the same Santa for their entire lives! I love that tradition for sure, and I document it every year.
I hope you'll play along with our Lasting Memorie's challenge this week!
Thanks for looking!
Sunday, January 27, 2019
Oh So Jolly with Lasting Memories
Happy Sunday, friends!
Today is the last monthly prompt over at Lasting Memories "This or That" challenge & the idea is to use at least two different alphas on your page.
I love this challenge, as it's something I do quite often. I'm still telling my December stories, so today's page is about my little one stealing the show (at least in my eyes) at his Christmas school program!
I used a vellum envelope to slide in the program for the Christmas show. Then I did the title and journaling over the top. I used some of my favorite Christmas stamps to embellish, along side stickers.
You can see more detail shots on the gram. I hope you'll play along with us at Lasting Memories this week!
Thanks for looking!!
Wednesday, January 16, 2019
Shine so Merry & Bright with Momenta
Happy Hump Day!
I'm still working on some of my favorite Christmas photos from 2018, and I had to tell this story about how sweet my youngest son can be. The Momenta Christmas mixed media stickers were perfect to compliment my Christmas story!
I used red thread to sew around the green border, and green fruit packaging to bring a pop of green behind the photo! LOL Whatever works, huh?
How about these new skinny alphas?! I adore them! They're already in stores now.
I cut this Merry & Bright wreath out of two different papers to achieve this two-toned look & I love it! The wreaths alone did double duty as part of my photo background as well. Dissecting dies is a good way to get more mileage out of them!
This wooden Joy sticker from the Christmas set was complimented well with the wooden stars with gold accents.
I typed my story in red to compliment the page, and I love the look! Sprinkled some more wooden stars to tie the top of the page to the bottom.
I cannot wait to see what Momenta new products are coming in this new year, but what I've seen so far is so FAB!
Thanks for looking!
Sunday, December 09, 2018
Finishing past DDs
Hey friends!
I am not falling prey to the tempting, glittery December Daily this year, but I am finishing up past albums I started!
This week's challenge at Lasting Memories is to use a wreath on your page! I used this awesome Bo Bunny winter paper to match my photo and make a snowflake wreath.
This is a 6x8 page of my youngest laying in my Nana's lap. That was a tough year, and he only got to know her a very short time, but I'm glad she got to meet him. This is a sweet photo of him with her.
I am not falling prey to the tempting, glittery December Daily this year, but I am finishing up past albums I started!
This week's challenge at Lasting Memories is to use a wreath on your page! I used this awesome Bo Bunny winter paper to match my photo and make a snowflake wreath.
This is a 6x8 page of my youngest laying in my Nana's lap. That was a tough year, and he only got to know her a very short time, but I'm glad she got to meet him. This is a sweet photo of him with her.
I used a snowflake border die and just separated the snowflakes individually from the line it cut to adhere them in a wreath pattern. Then I sewed around them for added texture.
There is not much room on these 6x8 pages, so I kept it fairly simple!
I hope you'll play along with our challenge this week at Lasting Memories - wreaths are always a gorgeous go to for a page design!
Thanks for looking!
Sunday, December 17, 2017
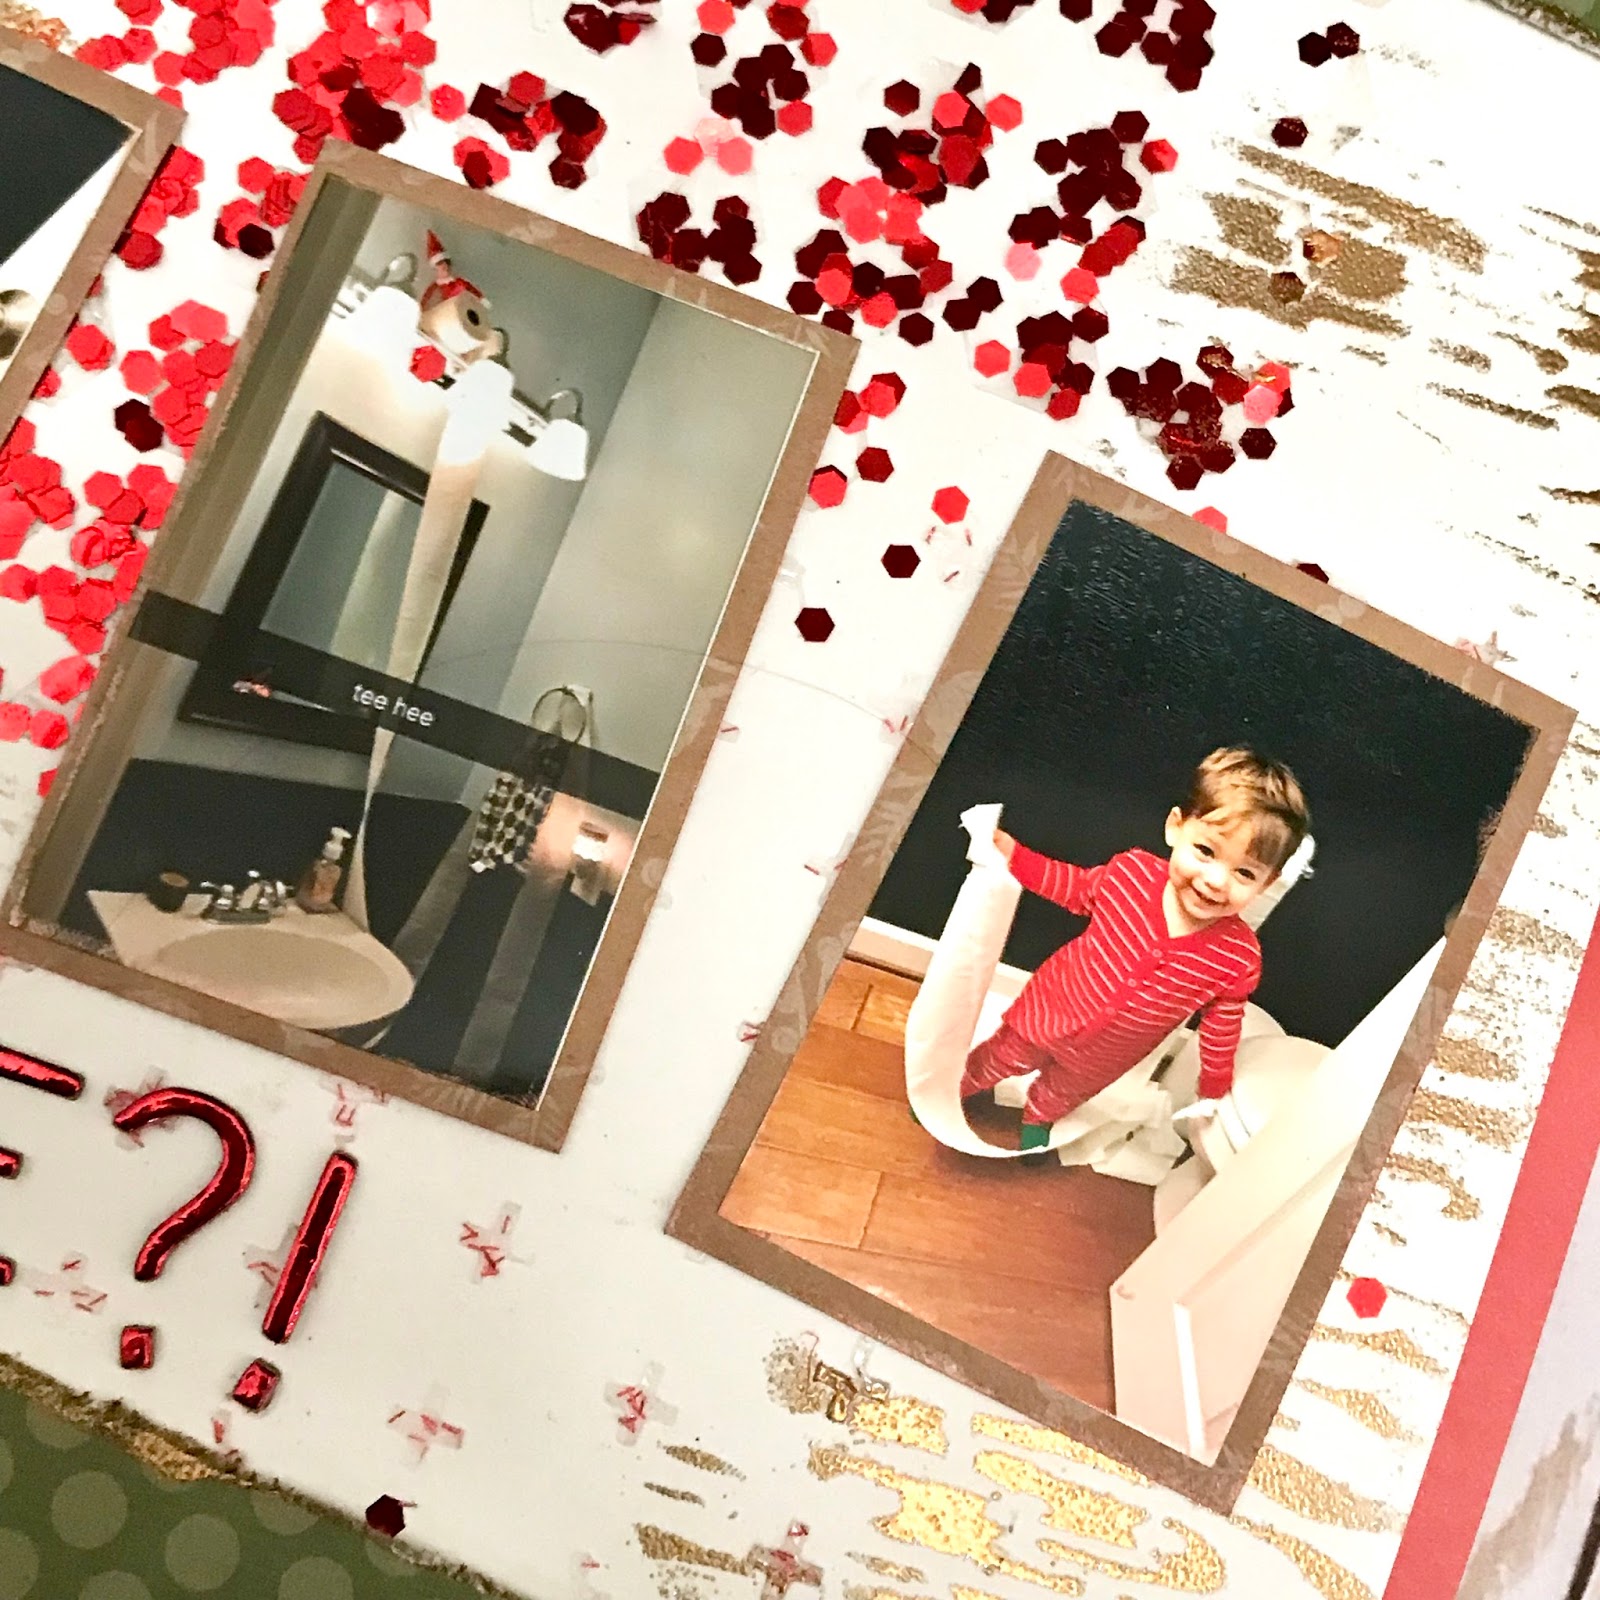
Naughty elf - a LM challenge
Hey friends!
This week at Lasting Memories we are keeping with the Christmas traditions theme in the challenge & using more than two photos on a layout.
I mean really!? haha! I can't really be mad when I clearly know where he got the idea.
As I was creating, I was thinking that a year ago I was not into mixed media much at all, and now I'm taking it wild! I messed with glitter & gel medium, then embossed a gold wood grain pattern. I even gold embossed the edges of my patterned paper. Give her a heat gun & she WILL emboss.
I stamped a title on a tag & tucked it into a glitter kraft bag on my page for my journaling.
Tucking a journaling tag in a bag left room for my super long title. Look at that little "angel" face!
Anyone else have to glue down their Thickers? These are alllll over the package, but they're cute, so it's fine.
I hope you will all go visit Lasting Memories for more multi-photo inspiration & play along with our last challenge of the year!
May your Christmas be wonderful, and your elves (and children!) nice.
Thanks for looking!
This week at Lasting Memories we are keeping with the Christmas traditions theme in the challenge & using more than two photos on a layout.
I mean really!? haha! I can't really be mad when I clearly know where he got the idea.
As I was creating, I was thinking that a year ago I was not into mixed media much at all, and now I'm taking it wild! I messed with glitter & gel medium, then embossed a gold wood grain pattern. I even gold embossed the edges of my patterned paper. Give her a heat gun & she WILL emboss.
I stamped a title on a tag & tucked it into a glitter kraft bag on my page for my journaling.
Anyone else have to glue down their Thickers? These are alllll over the package, but they're cute, so it's fine.
I hope you will all go visit Lasting Memories for more multi-photo inspiration & play along with our last challenge of the year!
May your Christmas be wonderful, and your elves (and children!) nice.
Thanks for looking!
Sunday, December 10, 2017
Whatever works! - A Lasting Memories challenge
Another week, another fun challenge over at the Lasting Memories challenge blog.
This week's challenge is using a tic tac toe board with our December memories/Christmas theme.
Here's the board:
I used sequins, stars, and wood veneer.
Can you believe I scrapped these photos the same day I took them?! I just had to tell this adorable story of my 2 year old meeting Santa, and I wanted to get it right.
Sometimes you just do whatever works to get the photo, am I right?!
I used my label maker to tie the journaling in with the bottom stamped quote from my IRS stamp set. I just thought it was so perfect since showing Santa the phone was the only way I could get the boy close enough for a happy photo!
Loving me some Nuvo glue, y'all! Check it out! It makes my wood veneers and sequins stick quite well.
I wrote atop some Heidi Swapp shine splatters.
I hope you will all go play along with this week's Lasting Memories tic tac toe challenge!
Thanks for looking!
This week's challenge is using a tic tac toe board with our December memories/Christmas theme.
Here's the board:
I used sequins, stars, and wood veneer.
Can you believe I scrapped these photos the same day I took them?! I just had to tell this adorable story of my 2 year old meeting Santa, and I wanted to get it right.
Sometimes you just do whatever works to get the photo, am I right?!
I used my label maker to tie the journaling in with the bottom stamped quote from my IRS stamp set. I just thought it was so perfect since showing Santa the phone was the only way I could get the boy close enough for a happy photo!
Loving me some Nuvo glue, y'all! Check it out! It makes my wood veneers and sequins stick quite well.
I wrote atop some Heidi Swapp shine splatters.
I hope you will all go play along with this week's Lasting Memories tic tac toe challenge!
Thanks for looking!
Subscribe to:
Posts (Atom)